Former OMA and BIG employee Bennett Oh is the creator of Archi Hacks, the popular Youtube channel dedicated to Architecture visualization, portfolio and design tips and tricks for students and professionals.
The physical model has always stood at the forefront of not only final presentations, but also the architectural design process. Beyond having a physical presence, the beauty of the physical model comes from the simplification of the project into just a few materials, maintaining a sense of purity within the project itself and conveying its conceptual clarity.
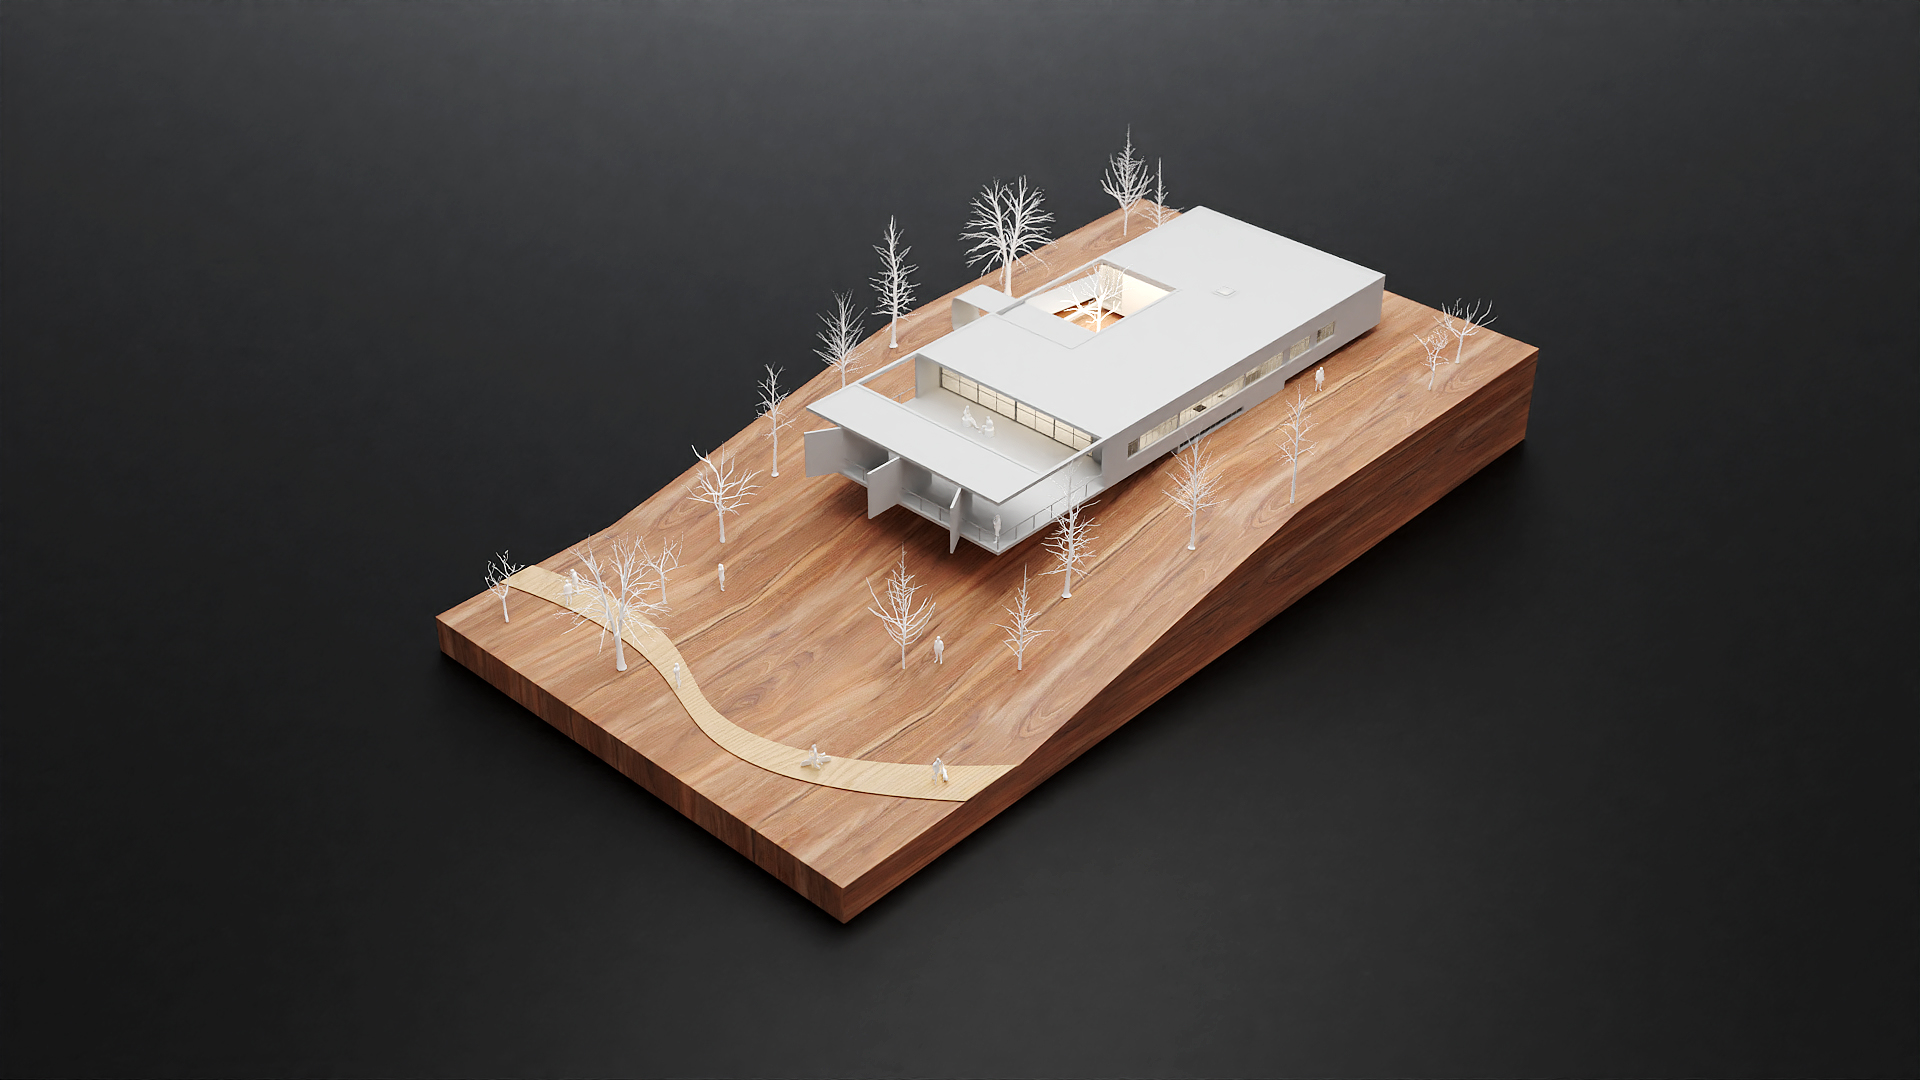
In our example, the architecture and surrounding entourage is denoted with a white plastic-like finish while the landscape is contrasted with a solid wood finish. No materiality is expressed, so the building is presented as a pure formal intervention on the site.
Why would you render a physical model?
- Time: if you are under a tight timeline, you may consider going digital
- Money: rendering will only cost a few cents on your electricity bill compared to the hundreds of dollars you would spend on real materials
- Iterative design: the design process will present a multitude of changes and iterations; digitally rendering model iterations is a beautiful way can show how you ended up with the final design
- Aesthetics: it looks damn nice
What you will need:
- V-Ray
- 3D model (download sample project here)
- 3D People
- 3D Trees
- 3D software of your choice (this demonstration uses Rhino)
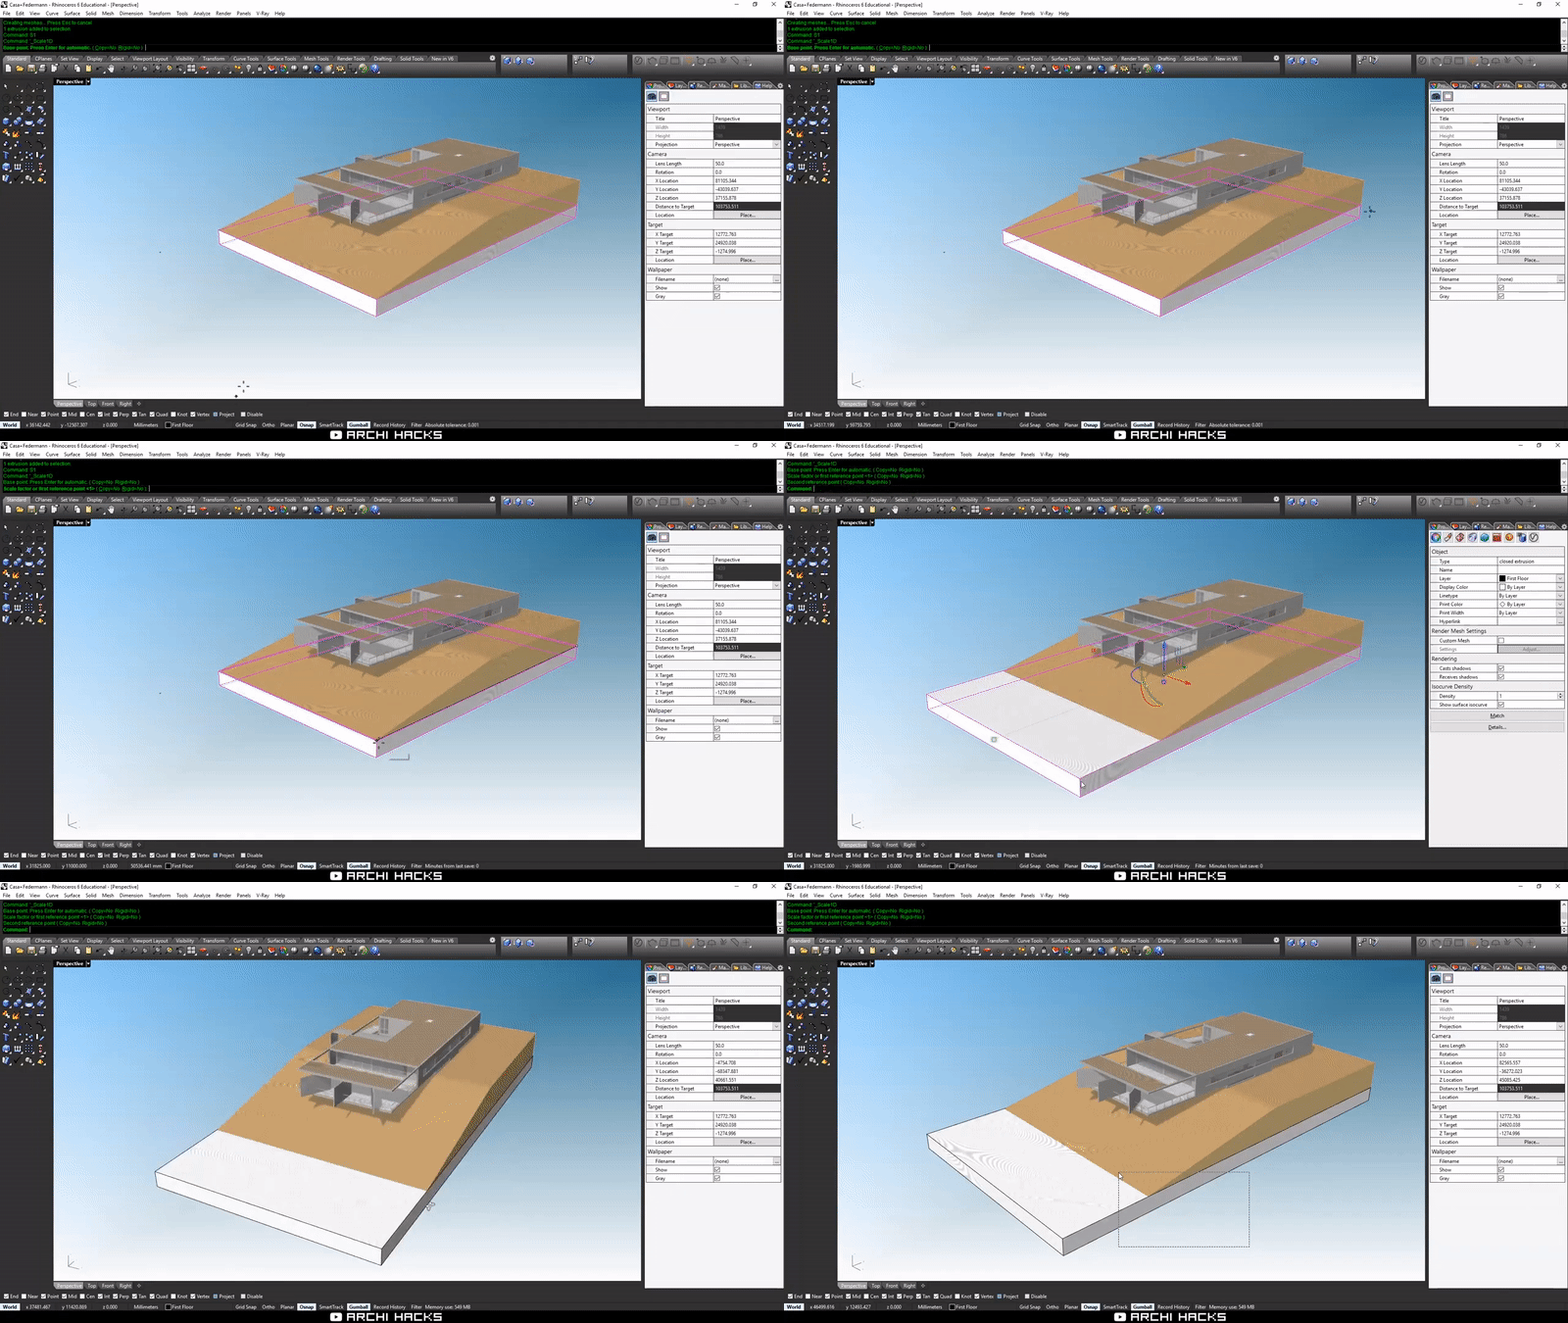
Step 1: Prepare the model
- Crop your model so that it only shows the important context elements. Our example model has already been cropped nicely.
- Scale the model down to an appropriate architectural scale.
- Add a thin podium for the model to sit on.
- For the base of the model, apply a wood texture in V-Ray. We used the ‘Laminate_A01’ material.
- Scale the texture by applying a box mapping. You can further edit the mapping by using ‘show mapping.’
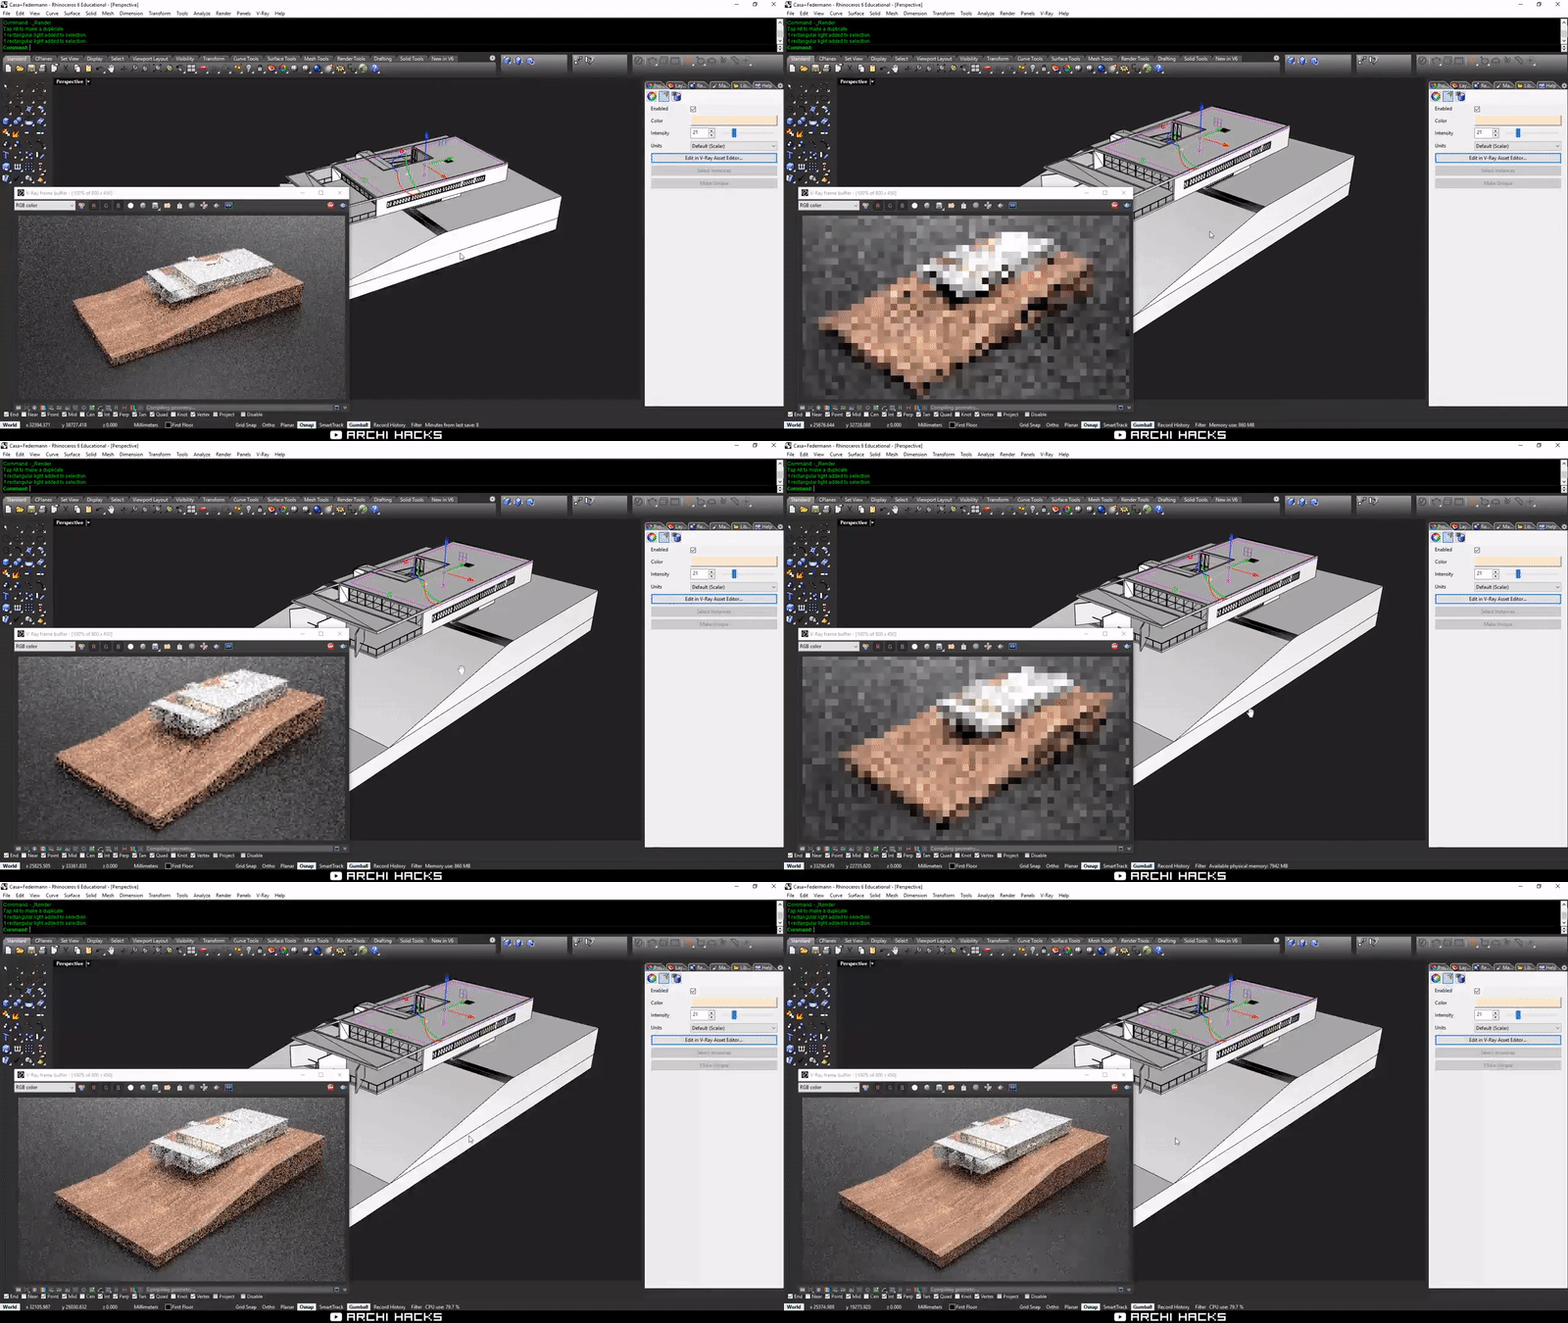
Step 2: Set the scene
- Create a V-Ray Infinite Plane and apply the ‘Plastic_Leather_A01’ texture.
- To create a studio lighting effect, add some V-Ray lights around the scene. For this example, we used a rectangular light that shines directly from above. Using multiple spotlights is another option that can achieve a different studio lighting effect.
- Add another rectangular light inside the model to liven the interior. Set a warm yellow color.
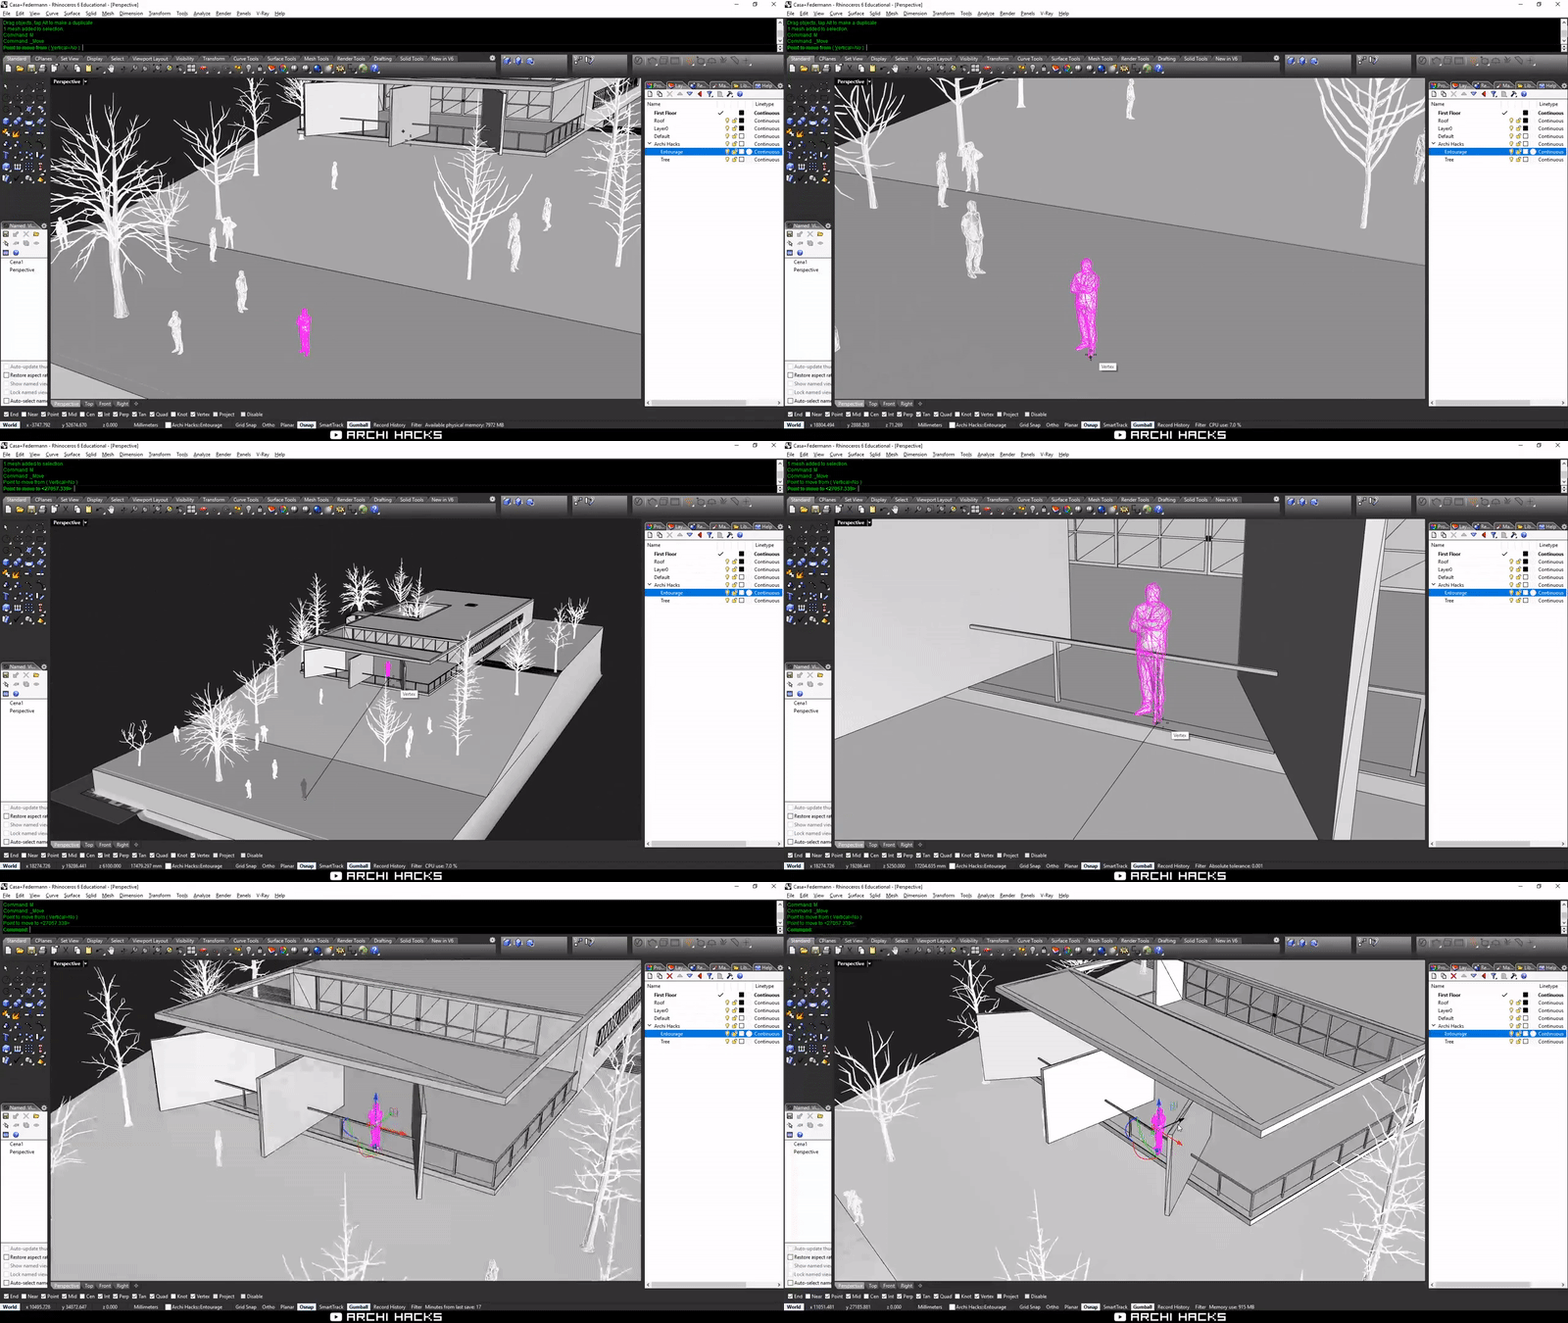
Step 3: Animate the context
Finally, trees and entourage populate the scene and bring it to life. You can purchase these assets by following this link:
- Import in your 3D people and trees
- Use the command ‘drape’ to create a singular surface for your topography. We recommend hiding your building before you do this step.
- Use the random transform plugin to scatter the 3D trees and people. You can also download the free plugin here.
- Once everything is scattered and in place, we can use the ‘DropObjectToSurface’ command and drop our 3D assets onto our draped surface. You can download the command from this link.
- Adjust the scene so that none of the assets are clipping into your building.
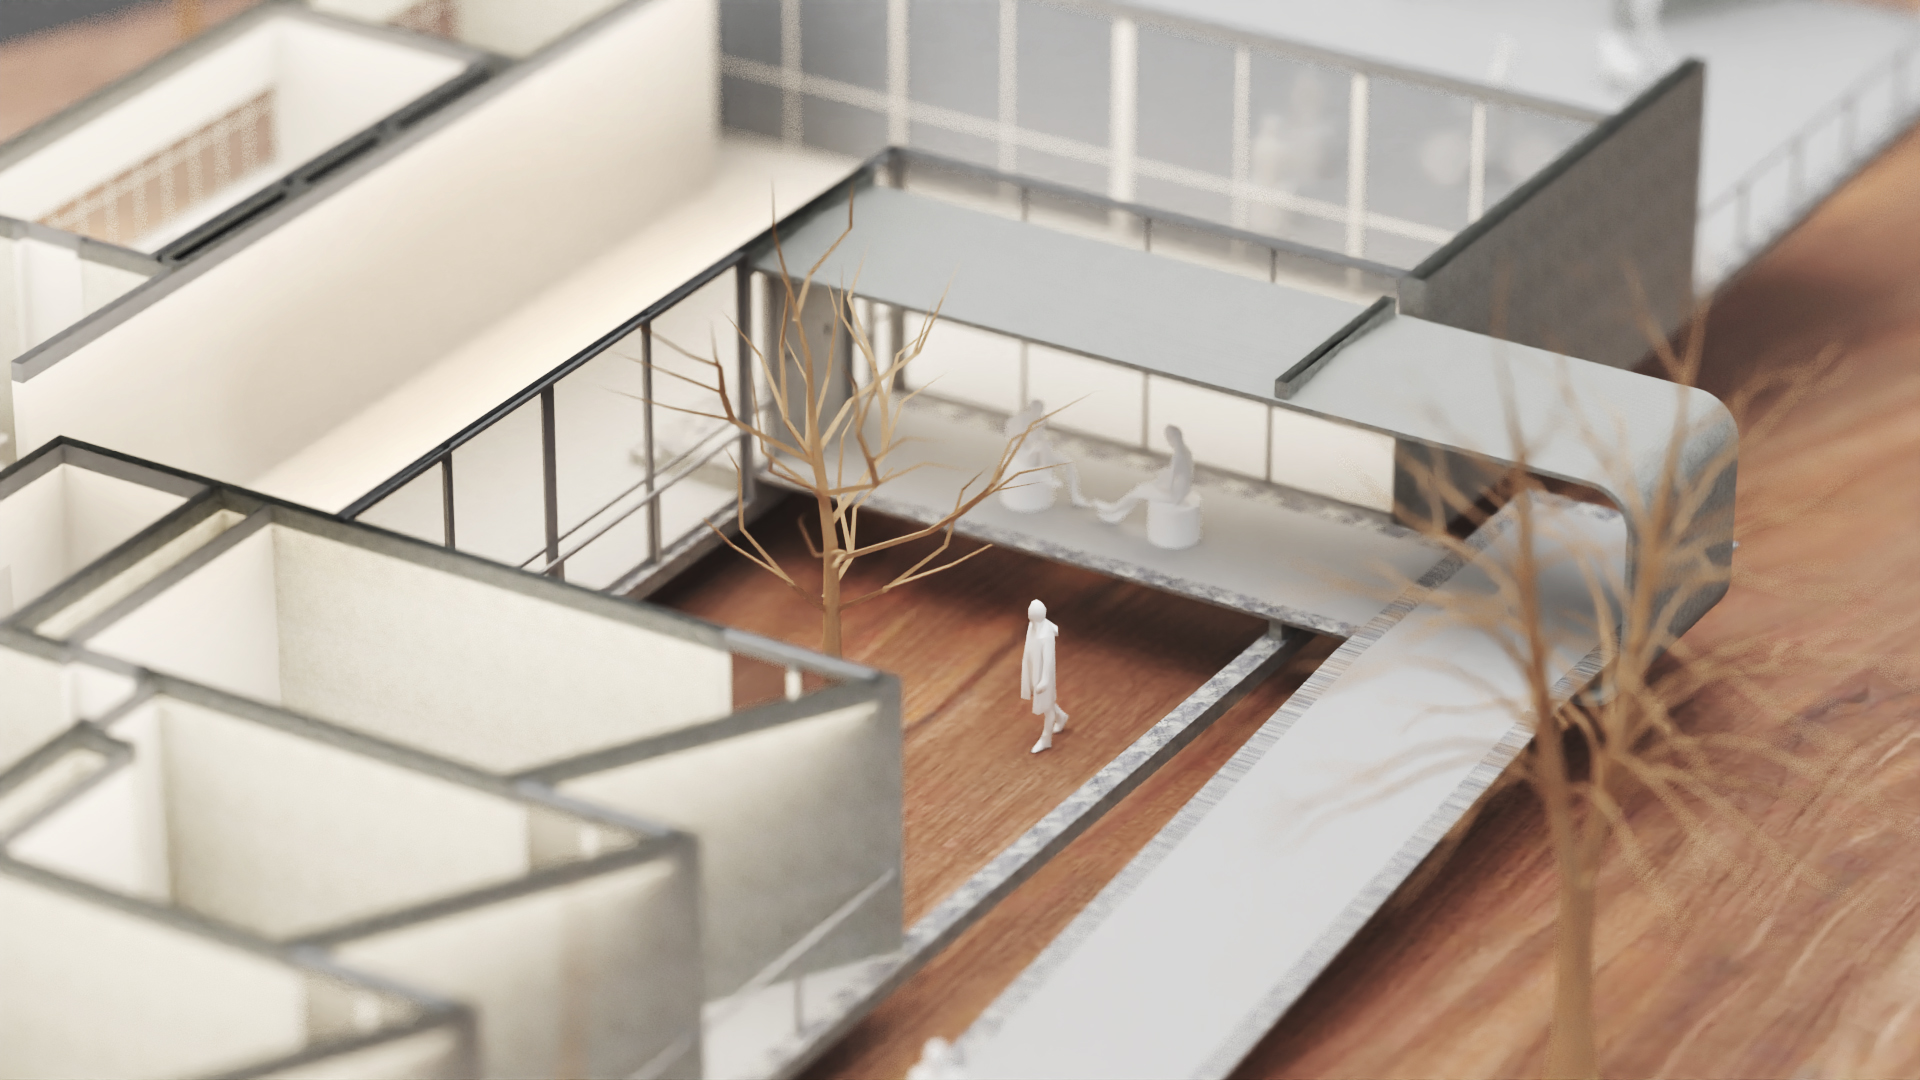
Step 4 – Rendering the scene
- One trick you can use to add another layer of photorealism is enabling depth of field in the V-Ray Asset Editor settings.
- Select a focus point in your scene. We picked the corner of the building closest to us.
- Use interactive render to adjust the ‘Defocus’ slider until you are satisfied with the result.
Once you arrive at a desired level of depth, turn off interactivity and render in full resolution.
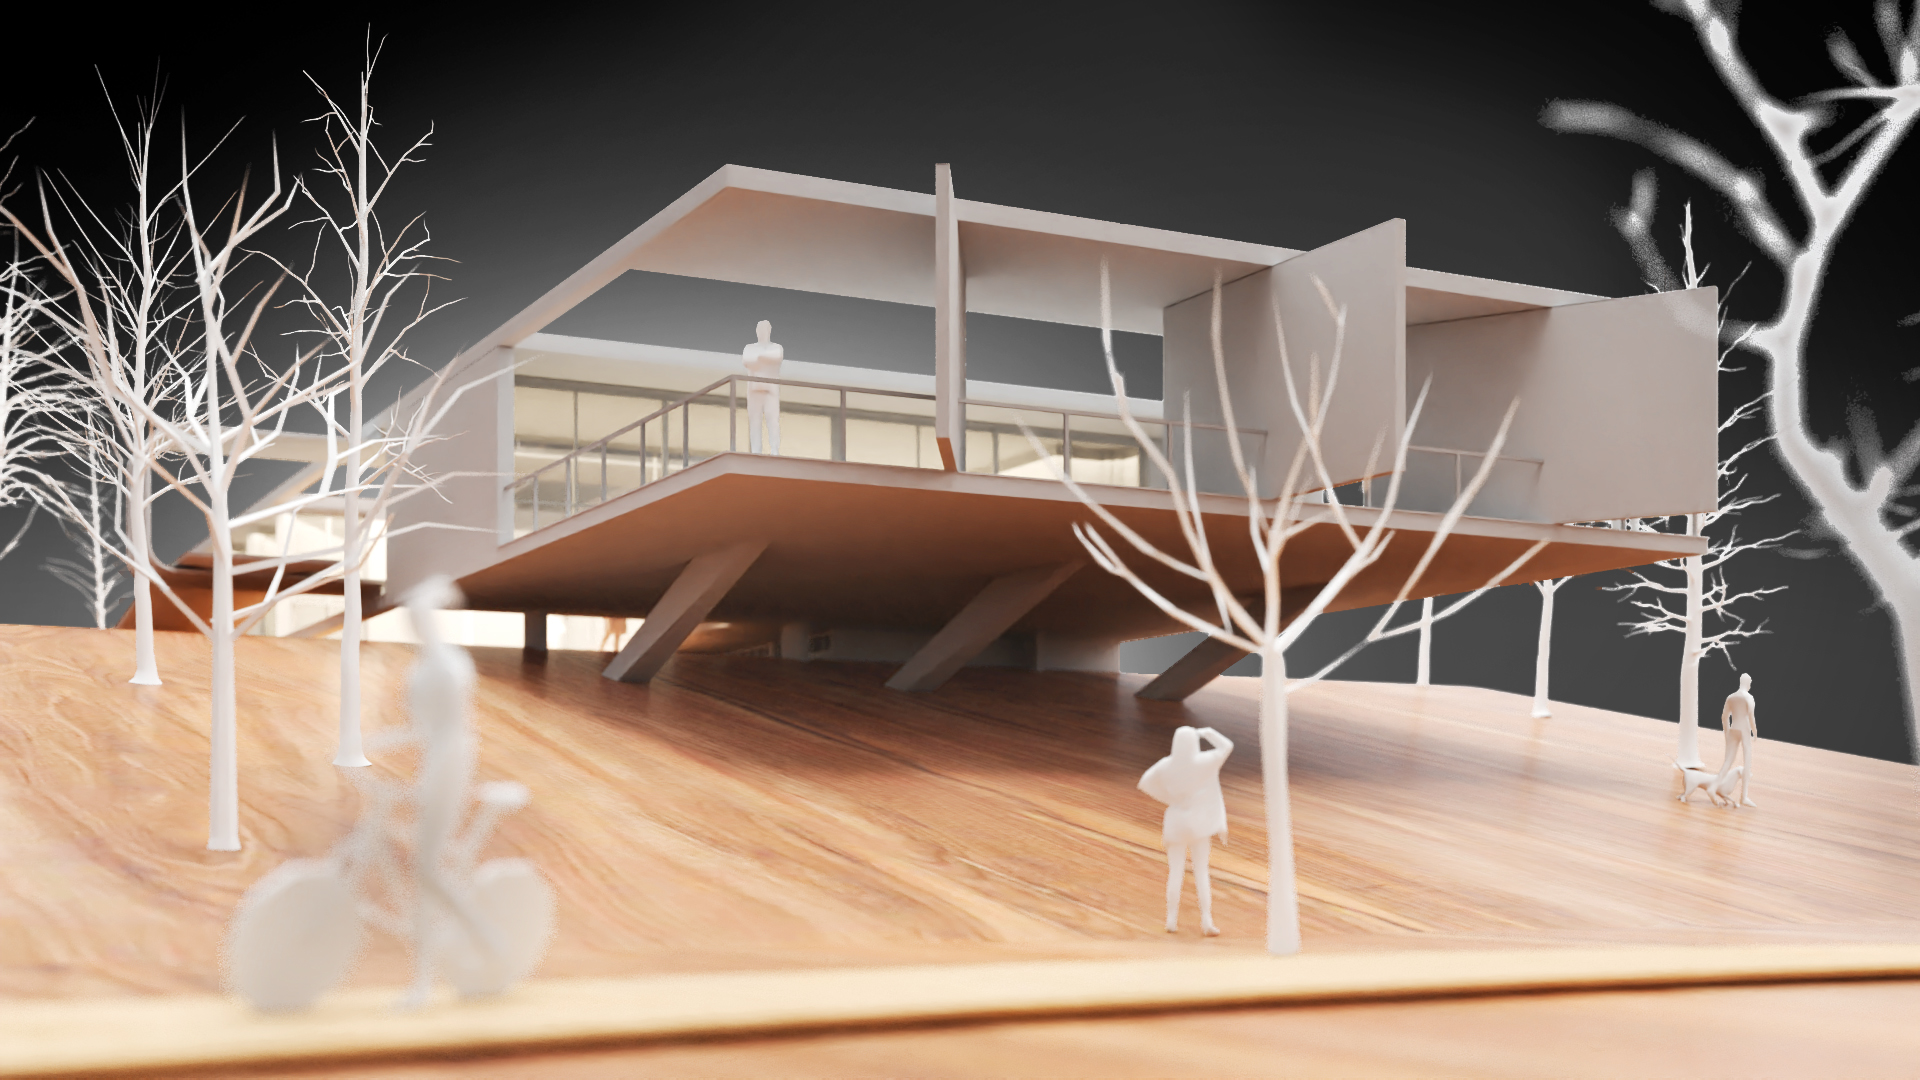
By following these steps, you may achieve neat model images without breaking a sweat or having to go to a model workshop! Here’s the full video with every step:
We hope everyone is staying safe and indoors. Archi Hacks is also on YouTube and Instagram in case you’re looking for more interesting contents. Stay tuned for the next series of tutorials!
The post The Art of Rendering: How to Render a Realistic Physical Model Using V-Ray appeared first on Journal.